How to Screenshot on a Mac
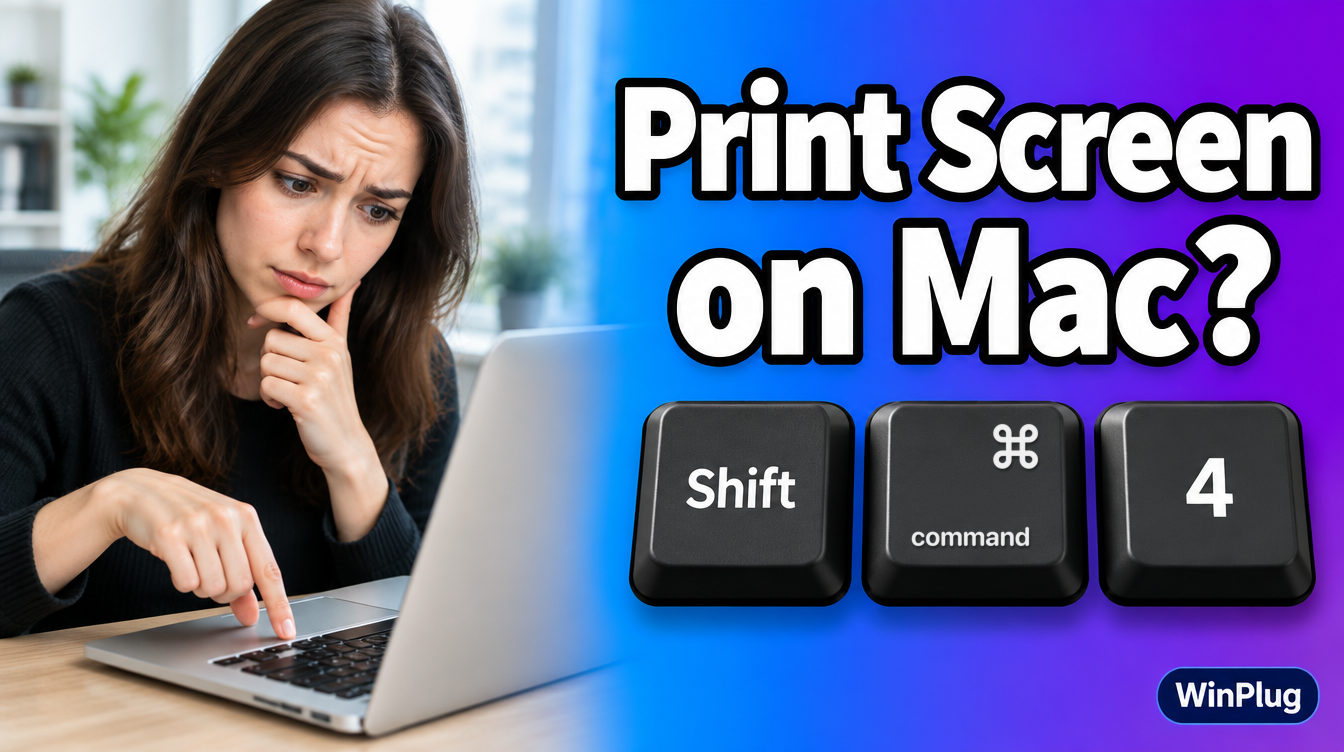
To take a screenshot on a Mac, press Shift+Command+3 for the whole screen, or Shift+Command+4 and drag to capture part of it.
- Shift+Command+5 opens the Screenshot toolbar with every option.
- A thumbnail appears in the corner: click it to mark up the screenshot.
On this page
Mac screenshot shortcuts at a glance
| What you want | On Windows | On a Mac | With WinPlug Snap |
|---|---|---|---|
| Capture part of the screen | Win+Shift+S | Shift+Command+4, then drag | Win+Shift+S or Print Screen |
| Capture the whole screen | Print Screen | Shift+Command+3 | Win+Print Screen |
| Capture one window | Alt+Print Screen | Shift+Command+4, then Space, then click | Alt+Print Screen |
| All the options | The snipping tool | Shift+Command+5 | Win+Shift+S |
| Copy instead of save | Copied by default | Add Control (Control+Shift+Command+4) | Copied by default |

Mac built-in vs. WinPlug Snap
Your Mac does the basics well: three shortcuts, a thumbnail, and Markup to draw on the result. WinPlug Snap works like Windows and goes further.
| Mac (built-in) | WinPlug Snap | |
|---|---|---|
| Shortcut | Shift+Command+3, 4 or 5 | Win+Shift+S, and the Print Screen key of a Windows keyboard |
| After the screenshot | A thumbnail in the corner; click it to open Markup | The editor opens right away, and the screenshot is already copied |
| Drawing tools | Markup: pen, highlighter, shapes, arrows, text, magnifier | 14 tools, including spotlight, emoji and eraser |
| Hide private details | Cover them with a shape | Pixelate an area, or put a solid black box on it |
| Numbered steps | Draw them yourself | A Number tool: 1, 2, 3 with one click each |
| Crop | Free crop | Free crop or 12 preset ratios (1:1, 16:9, 4:3, 9:16…) |
| Nice background for sharing | Not built in | Gradients, colors or an image around the screenshot |

How do I take a screenshot on a Mac?
Capture the whole screen: Shift + Command + 3
- Press Shift+Command+3 together.
- A thumbnail appears in the corner of the screen. Click it to edit, or wait and the screenshot is saved to your desktop.
Capture part of the screen: Shift + Command + 4
- Press Shift+Command+4. The pointer turns into a crosshair.
- Drag over the area you want. Hold the Space bar while dragging to move the selection.
- Release the mouse or trackpad. Press Esc before releasing to cancel.

Capture one window or menu
- Open the window or menu.
- Press Shift+Command+4, then press the Space bar. The pointer becomes a camera.
- Click the window. Hold Option while you click to leave out the window’s shadow.

Use the Screenshot toolbar: Shift + Command + 5
Press Shift+Command+5. The toolbar lets you capture the whole screen, a window or a selected area. Its Options menu sets a timer, the save location, the floating thumbnail and the pointer.

Is there a Print Screen key on a Mac?
No. Mac keyboards have no Print Screen key. The Mac uses Shift+Command+3 for the whole screen and Shift+Command+4 for part of it.
If you plug a Windows keyboard into a Mac, its Print Screen key usually does nothing on its own. And the Windows key works as Command, so on that keyboard the Mac shortcut is Shift+Windows key+4.
How do I copy a screenshot instead of saving it?
Add Control to the shortcut. Control+Shift+Command+4 copies the selected area to the clipboard, ready to paste with Command+V. You can also Control-click the thumbnail and choose Save to Clipboard.
How do I edit a screenshot on a Mac?
Click the thumbnail right after the screenshot. A window opens where you can mark it up: draw, add shapes, arrows or text, and crop. Click Done to save your changes.

How to snip on a Mac like on Windows
Want Win+Shift+S back? No need to relearn it: keep your Win+Shift+S and your Print Screen key.
With WinPlug Snap, Win+Shift+S captures an area and opens the editor straight away. The screenshot is already copied, so you can paste it at once. The Print Screen key of a Windows keyboard works too, and Alt+Print Screen captures one window.
In the editor, add numbered steps, arrows and text, pixelate an email address, crop to a preset ratio, or put the screenshot on a colored background before you share it. It’s a snipping tool for Mac that works like Windows.

Keep your Windows habits on your Mac
WinPlug brings back the taskbar, Alt-Tab, the Windows shortcuts, the snipping tool and more, in one app.
Free for 14 days · $24 one-time · No account
Other Windows habits WinPlug brings back
- Ctrl+C and Ctrl+V to copy and paste, like on Windows. See how to copy and paste on a Mac.
- Ctrl+Alt+Delete opens Activity Monitor. See how to Ctrl+Alt+Delete on a Mac.
- Alt+Tab shows every open window with a thumbnail.
Frequently asked questions
Is there a Print Screen key on a Mac?
No. Mac keyboards have no Print Screen key. Use Shift+Command+3 for the whole screen or Shift+Command+4 for part of it. With WinPlug Snap, the Print Screen key of a Windows keyboard takes a screenshot like on Windows.
How do I screenshot part of the screen on a Mac?
Press Shift+Command+4, then drag over the area you want. Release the mouse or trackpad to take the screenshot. Press Esc to cancel.
How do I snip on a Mac like the Windows snipping tool?
Press Shift+Command+4 and drag, or Shift+Command+5 for the Screenshot toolbar. If you want Win+Shift+S and an editor that opens right away, WinPlug Snap brings that back.
How do I copy a screenshot instead of saving it on a Mac?
Add Control to the shortcut: Control+Shift+Command+4 copies the selected area to the clipboard. You can also Control-click the thumbnail and choose Save to Clipboard.
Where do screenshots go on a Mac?
By default, macOS saves screenshots to the desktop. You can choose another folder in the Options menu of the Screenshot toolbar (Shift+Command+5).
Sources
- Apple Support, “How to take a screenshot on your Mac”, support.apple.com/en-us/102646 (checked October 2026).
- macOS User Guide, “Take screenshots or screen recordings on Mac”, support.apple.com/guide/mac-help/mh26782/mac (checked October 2026).
- Apple Support, “Mac keyboard shortcuts”, support.apple.com/en-us/102650 (checked October 2026).